Wednesday, June 20, 2012

A Crafty Storage Solution

I am always looking for a way to upcycle items, so when I came across an idea similar to this, I had to give it a try (with my own spin on it, of course)! Sorry, but I do not remember where the original idea came from...one of my parenting magazines, I think.
Anyway, here is what you need:
# of small cans (I used mandarin orange cans) you desire to make amount of storage containers you will need.
Electrical tape to place along the top edge of the can-you could also use duct tape
Colored duck tape (we chose the paint splatter design)
Round craft magnets-3 per can
Scissors
Hot glue gun and glue sticks (not pictured)

Place the duct tape around the can (it took two pieces to cover my cans) and carefully fold any extra tap over the bottom edge of the can.

 Using the hot glue gun, glue three magnets onto the back of the can (this part is a little tricky as you want them to lay flat against your magnetic surface-don't worry though, the hot glue can be peeled off with a little bit of work so you can try again).

These hands hold quite a bit of crafting supplies and can make for easy access for little hands when placed low on a magnetic surface. I used the side of the filing cabinet in my office area.

Anyone feeling crafty?
Couldn't you just see these filled with all sorts of crochet hooks, knitting needles, needles, pins, stitch markers...I could go on and on. They would have to be placed up a bit higher so as not to be easy access to little curious hands! Hmmm....I think I may need to go eat some mandarin oranges! 

If you have a question, please leave a comment. 

Wednesday, June 13, 2012

A New Technique and A New Pillow

I have been crocheting since I was around twelve years old. My wonderful Aunt Twyla taught me how to crochet a granny square and I have been in love ever since! Since then, I have learned how to read all of the stitches and have not found a stitch pattern I cannot learn. So, needless to say, I am always up for a challenge.
I attempted to learn to knit and took a couple of classes at one of the near by community colleges, and although it is intriguing and fun, getting beyond the basic knit one purl one is rather difficult with two little ones trying to help. Mostly, the pointy needles make me a bit nervous with my little man climbing in and out of my lap the whole time. That does not mean I am giving up, just delaying progress.
So, the search continues... I came accross the squiggly crochet technique a few years ago, and even bought a booklet on it. At the time I was pregnant with my son and could not make heads or tails of it (Mommy brain! LOL) A few days ago, I decided it was time to try again.
Here is the result...
I consider it a sucess!

Not to be left out, Sami had to have a turn in front of the camera! She is standing on my pillow actually; just to make sure I would not be able to ignore her pleas of "My turn! My turn!"
Isn't she making a 'lovely' face for the camera! I think this photo will have to be added to her 'photos to show at graduation' album.

 For the back of my pillow, I used a granny square. It somehow seemed appropriate. :)

 I think it looks nice in the living room nestled on the couch amongst the handmade toys.
The snake behind it was made by my dear friend over at Kashi's Corner. If you have not visited her blog before, you should! Tony still loves his snake Kashi.


Saturday, June 9, 2012

Something Old and Something New: Up-Cycling at its Best


On a visit to a lovely little craft store (that I do not get the chance to visit often as it really is out of my way...) my little girl picked up some lovely, soft, bulky yarn that she has asked me to make her a pillow and a blanket out of for some time. The first few times I headed her off with other (read less expensive and easier to work with) yarn, but as this was yet another request, I caved. That and they were having a wonderful half off sale!
Upon the completion of the pillow, I realized that I did not have a coordinating fabric to make a pillow insert with. So, not wanting to go out, I immediately started thinking of items I had that we no longer used and might work. At first I was going to use some recieving blankets, but as I was debating which ones had a subtle enough pattern that it would not ruin the look of the large granny square pillow I made, I saw a lovely light pink crib sheet. Perfect! My little girl is now in a full bed and I know it does not matter if my son has pink sheets on his bed, I just cannot bring myself to do it, so it was a perfect up-cycle!

 Here is the crib sheet layed out before my modifications...

Not wanting to attemt with battling the elastic, and being a good little up-cycler, I first snipped a hole in the corner and pulled the elastic out. There is quite a bit of elastic in a crib sheetand it was still in excellent shape! Hmmm...I wonder what this will become (for now it is nestled in my sewing box).

Next I cut the four corners along the seem lines so I could lay the fabric (somewhat) flat. I know, I could have torn the stitches out, but for the sake of my sanity and patience, I just cut it!

 At this point, Tony came into the room to inspect my work (notice the large ball of playdough in his hand-my attempt to keep the children occupied while I worked). He proceeded to dance around on the fabric! I guess that is another idea for a piece of fabric...a stage!

 I then cut out two large squares (slightly bigger than my crochet pillow) and sewed then together, all but the last 5-6 inches. I placed the empty form into my crochet pillow and proceeded to stuff it with fiberfil.

 With a simple blanket stitch and some quilter's thread, the form was closed.

I did a qick crochet stitch to close up the crochet pillow, and.....it was approved by my best critics...the kids! You can see a bit of Tony in this picture. He loves the feel of the pillow!

It really did turn out rather lovely. Perhaps an afternoon nap is in my future...hmmm.

Friday, June 8, 2012

The Crochet Families Newest Editions

My daughter has been begging me to make her a crochet doll for quite awhile. One problem...I could not find a pattern that I liked and did not have the time/desire to create one of my own. Then I came accross this one (http://www.favecrafts.com/Crochet-Amigurumi/Cute-Crochet-Doll/ct/1) and with a few modifications it was perfect.

Ta-Da!

I changed the face a bit... added ears and a nose. My daughter wanted button eyes, so I used the solid ones as (I can't explain it) the ones with the cross stitching kinda freak me out when they are used for eyes!

Here is the back of the hair. I cut A LOT of 12" strands of yarn, then starting at the crown, and using my crochet hook, I attached them (following the round) with a slip knot.

 Right near the completion of the first doll (for my daughter), problem number two arose... my son did not want to leave it alone. He kept sneaking it away from my daughter and carrying it around the house saying, "Baby!" Whenever she got near him (in an attempt to get it back) he would holler "No! Mine!" So... here we go again with the modifications. Issue number one with doll number two was the hair... solution=eyelash yarn.

He turned out really cute! I decided against using buttons for the dolls eys n this one as the first thing my littlee guy tried to do was pull the button eyes off of his sister's doll...so I got out the felt and got to work!  I am really proud of the way he turned out! I also used felt for the mouth as I wanted a more boyish looking mouth.

 Apparently felt is rather addictive...I just had to make a felt aplique for the little crochet 'T-shirt'. What better than a car for my little boy who loves little cars! After I completed it I realized I would soon be investing in more felt for more apliques for my crochet works in the future!

 I just had to share a close-up of his little shoes! So adorable!

Here is my little guy holding his baby! He is giving him a hug. So cute!

 My little girl loves hers too! She was snuggling with it in my chair while watching Curious George.

Wednesday, June 6, 2012

A Little Family Time

For Memorial weekend we went on a mini vacation to visit my husband's grandmother Joyce (so the kiddos great-grandmother). It is just over a four hour drive, which just happens to be close to the limit that the kids can handle without lots of whining and craziness!  Of corse we went to the park that is near her house...

Pete giving baby Tony a ride in the swing.

Pete and Tony at the top of the 'scary slide' (well, scary for Mommy anyway)!

Pete and Sami at the top of the slide.

 Sami showing some 'big boys', who showed up at the park, how it is done.

 Pete taking Tony to the top of the slide on one of many trips. :)

Big smiles all the way down!

 Tony strutting his stuff under the slide.

Sami standing on the bottom of the little slide.

 A little rest and relaxation in Grandma's kitchen. Sami helped me make a delicious dinner. She loves to make the cresant rolls!

All in all a wonderful trip! We will definately be visiting again soon!

Monday, June 4, 2012

A New Recipe and It's a Keeper!

While looking through an old copy of Reader's Diagest, I came accross a recipe for single-serve mac and cheese. We had tried the store bought kind before, but felt it fell a little short of desirability. So...we tried this! It really is quite an easy recipe.

Combine 1/2 cup pasta, 1/2 cup water, and 1/2 tsp. salt in a microwave-safe bowl.

Microwave on high in two minute intervals, stirring between each, until pasta is al dente, 6 to 8 minutes. (Add 2 Tbs. water, if needed, to fully cook pasta.)

Stir in 1/4 cup of milk and...

1/2 cup of shredded cheese (they recommend cheddar, we used itallian blend and colby). Stir.

Microwave for 30 second intervals, stirring between each, until...

the cheese melts into a rich sauce.

Serve...

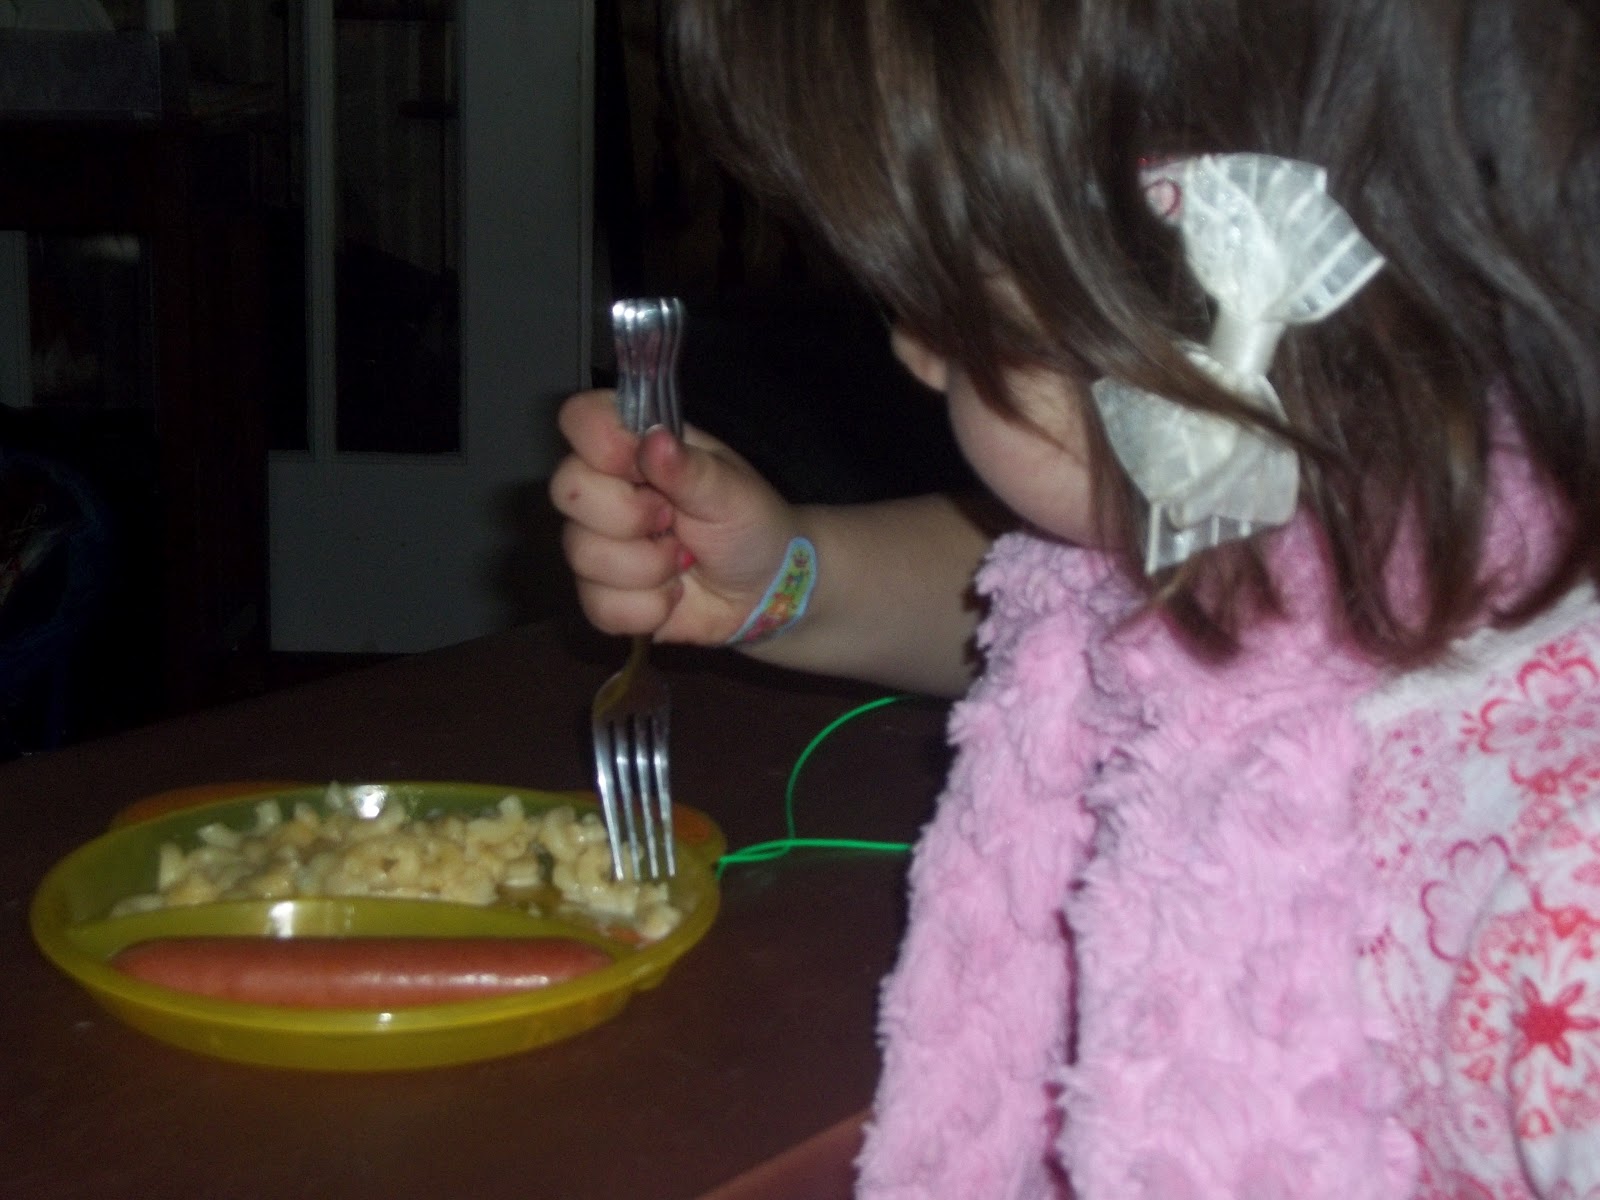
My daughter liked it so much she did not even want to look up at the camera!

 When I asked my son if it was yummy, he made kissy face at me!

Needless to say, we will be making this recipe again!


Monday, April 9, 2012

Spring Time Fun and Crafting

So, my feet have been waiting and waiting and waiting for warm weather to come our way and now that it is here... LET THE FLIP FLOP WEARING BEGIN!!!

I could not find a pair of black flip flops that I loved, so I modified a pair to suit me!

 Nothing like a little bling to take boring to beautiful! The best part is I did this for about $3! How fabulous is that?!


 I also completed another bag bag, this one is for a friend/co-worker. Isn't it lovely! The pattern was a bit of a pain to figure out, but once I had it down, it went pretty smoothly. I actually frogged this project three times before I settled on a design I liked! The best part is that she loves it!

 Here is the majority of my fabric stash that I have collected so far... isn't it lovely!

What would a spring post be without some Easter pics? Here is my lovely daughter collecting eggs.

My adorable son finding an egg in the flower pot.

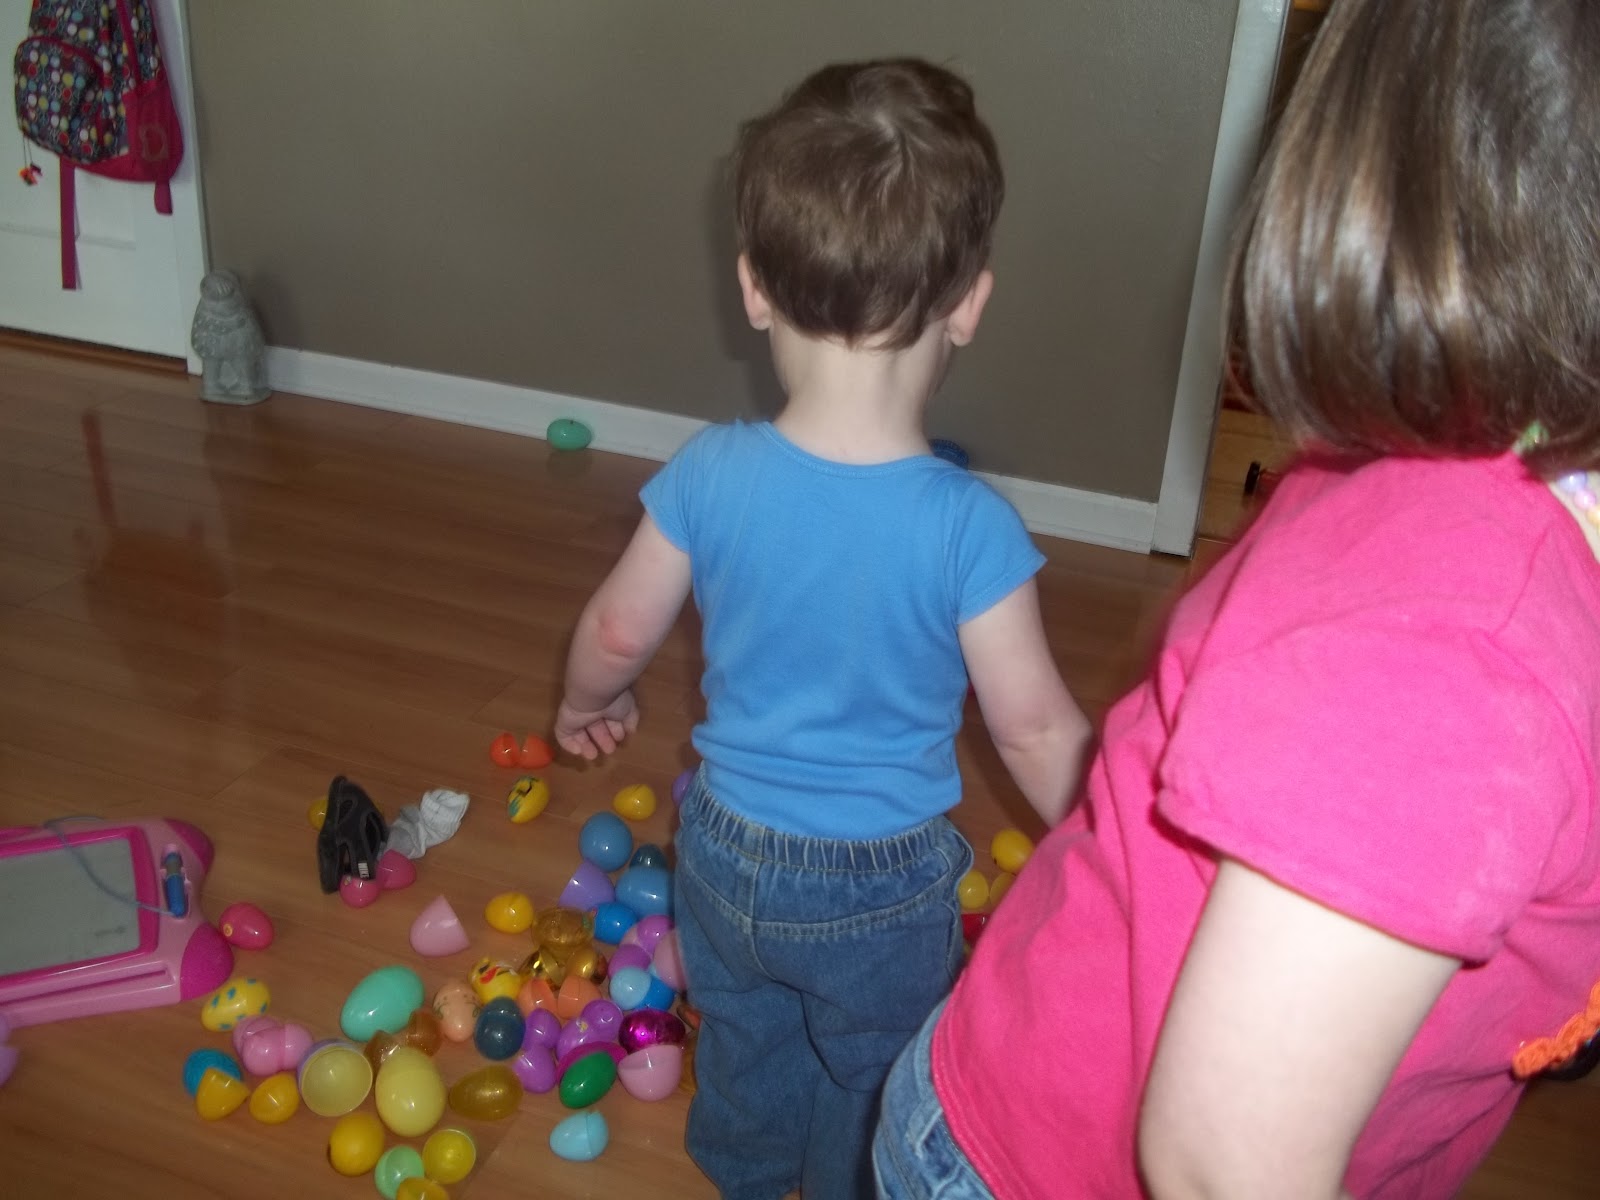
 Who says the fun has to be over just because the eggs are empty? Tony dumped the empty plastic eggs all over the living room floor and ran circles around them with Sami!

Hope you all had a wonderful holiday!